Dreaming of a spa-like oasis or finally fixing that leaky faucet and dated tile? A bathroom renovation is one of the most rewarding home projects, but it can quickly become overwhelming without a solid plan. Whether you’re doing a full gut job or a stylish refresh, this ultimate checklist is your roadmap to a successful transformation—helping you save time, money, and a whole lot of stress.

Phase 1: The Dream & Plan (Before You Swing a Hammer)
This phase is all about laying the groundwork. Rushing into demolition is the number one mistake homeowners make.
Define Your Goals & Budget
Ask yourself: What’s the main purpose of this reno? Is it to increase home value, improve functionality, or create a personal retreat? Your goals will guide every decision. Next, set a realistic budget and add a 15-20% contingency fund for unexpected issues. Plumbing surprises are notorious in bathroom renos.
Gather Inspiration & Measure
Create a mood board using Pinterest, magazines, or design apps. Pay attention to recurring styles, colors, and layouts you’re drawn to. Then, measure your existing bathroom meticulously. Note the placement of plumbing, doors, windows, and electrical outlets. This info is gold for both DIY planning and professional consultations.
Research & Hire Professionals
Decide what you can DIY and what requires a pro. Plumbing, electrical, and major tiling are often best left to licensed contractors. Get at least three detailed quotes, check references, and verify insurance. A good pro is worth their weight in gold (or drywall).
Phase 2: The Nitty-Gritty Details (Design & Materials)
Now for the fun part—choosing the finishes! This is where your vision starts to take tangible shape.
Layout & Major Fixtures
Decide if you’re keeping the existing layout (most budget-friendly) or moving walls and plumbing (more complex and costly). Select your major fixtures first: bathtub, shower, toilet, and vanity. Their sizes and rough-in requirements will dictate much of the design. Consider water-efficient models to save on utilities.
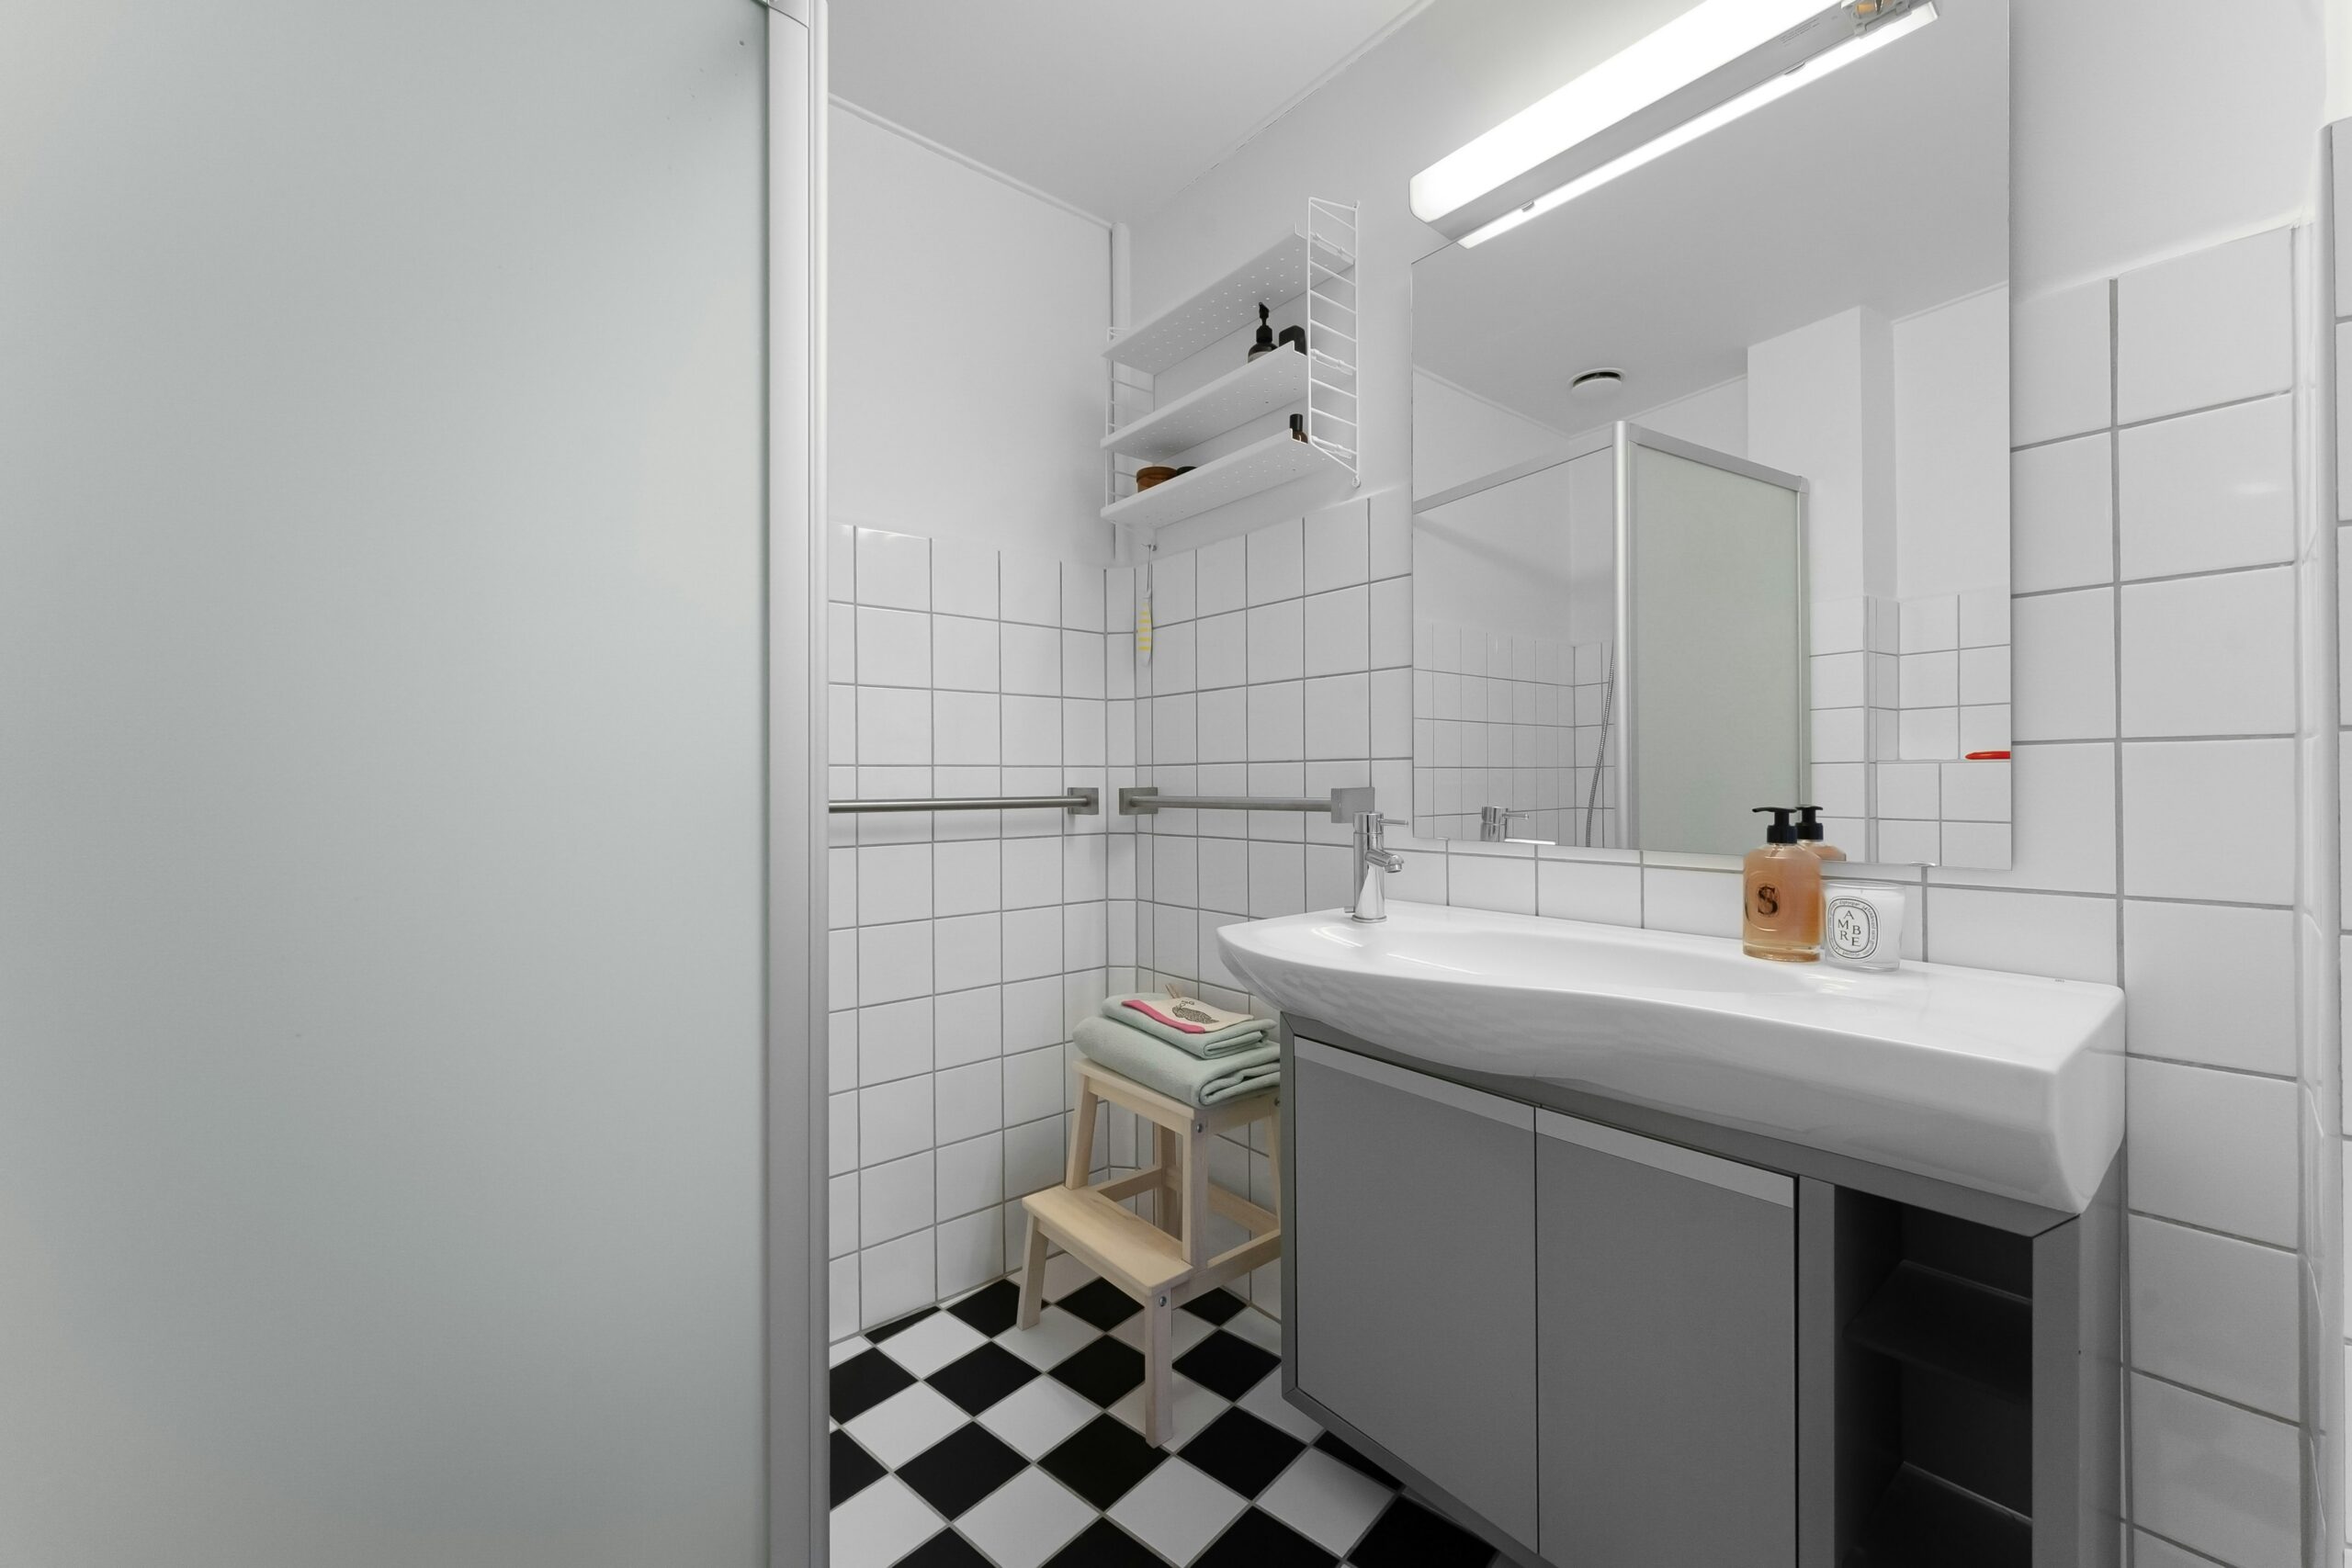
Surfaces & Materials
Choose your tile (floor, shower walls, backsplash), countertop material, and cabinetry. Remember: Bathroom materials must withstand moisture and humidity. Porcelain tile, quartz countertops, and marine-grade plywood for cabinets are excellent, durable choices. Get samples and see them in your bathroom’s light before committing.
Lighting, Ventilation & Electrical
Plan for layered lighting: ambient (overhead), task (vanity), and accent. A dimmer switch adds instant ambiance. A proper exhaust fan is non-negotiable to prevent mold and mildew. Now is also the time to plan for outlets (including a GFCI for safety), switch placement, and any luxury additions like heated floors or a towel warmer.
Phase 3: The Renovation Rollout (Execution)
The dust flies and the vision becomes reality. Staying organized is key to surviving this phase.
Preparation & Demolition
Clear out the entire room, protect adjacent areas with plastic sheeting, and set up a temporary bathroom station if needed. Then, carefully demolish. Pro tip: Turn off the water and electricity at the source before you start. Be cautious—behind those walls could be surprises.
The Rough-In Work
This is the behind-the-scenes magic. Plumbers and electricians will run new pipes, drains, and wires according to the new layout. Once that’s inspected and approved, insulation goes in, followed by hanging new drywall or cement board (essential for wet areas).
Installation & Finishing
The fun returns as you see the finished product emerge. The typical order is:
- Paint the ceiling.
- Install tile (floor first, then walls).
- Install vanity, toilet, and tub/shower unit.
- Hook up plumbing fixtures and lighting.
- Add mirrors, hardware (towel bars, toilet paper holder), and final paint touch-ups.
Phase 4: The Final Touches (Before You Relax)
You’re almost there! Don’t skip these crucial final steps.
Deep Clean & Inspection
After the construction mess is cleared, do a thorough deep clean. Then, inspect everything. Check for consistent grout lines, that all fixtures work properly, doors and drawers open smoothly, and there are no leaks. Test the ventilation fan and all electrical outlets.
Accessorize & Enjoy
Now, bring in your personality with soft, fluffy towels, a stylish bath mat, artwork, and plants. These elements make the space feel complete and lived-in. Take a moment to appreciate your hard work—you’ve earned a long, relaxing soak in your beautiful new bathroom.
Conclusion
Photo Credits
Photo by Lisa Anna on Unsplash
- Finding Your Perfect Fit: A Guide to Senior Apartments for Independent Living – 28/01/2026
- Understanding Dental Implant Options – 28/01/2026
- Home Renovation Basics Explained – 28/01/2026

Leave a Reply